Thinking about selling your Wellesley Colonial and wondering how to make it stand out online and in person? You know buyers here look for well-edited spaces, great light, and classic architecture that feels current. With a few strategic, design-forward moves, you can showcase the charm of a center-hall Colonial while signaling modern livability. This guide walks you through what to prioritize, how to prep for photos, and ways to stage each key room for maximum impact. Let’s dive in.
Why Wellesley Colonials shine when staged well
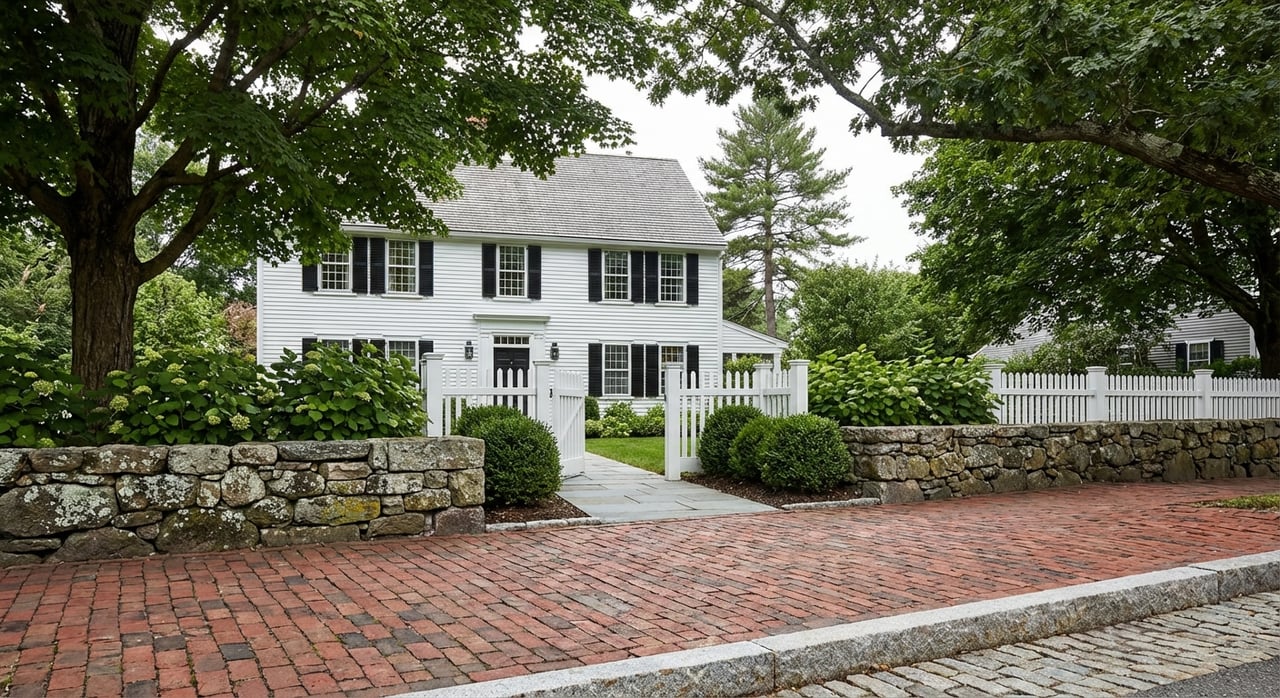
Wellesley’s Colonials often feature a symmetrical façade, a center-hall foyer, formal living and dining rooms, fireplaces, and detailed moldings. These features photograph beautifully when you keep rooms tailored and balanced. Because many layouts are more formal than open plan, your staging should show clear room function and a sense of easy flow between spaces.
Local buyers expect neutral, polished interiors, tidy landscaping, and move-in readiness. Seasonal cues matter in New England, so lean cozy in winter and light, bright styling in spring and summer. If you plan visible exterior updates like changing the front door color or shutters, check with town offices first. Parts of Wellesley fall under historic or conservation review, and exterior changes may require permits.
Start with a simple plan
Begin with a clean sequence: paint and trades, deep clean, staging and styling, final clean, then professional photography. Allow 48 to 72 hours between the delivery of staging and your photo date so you can fine-tune styling and lighting. For exteriors, spring and early summer greenery or fall foliage can boost curb appeal; interior photos can be taken year-round.
Scale and layout that respect the architecture
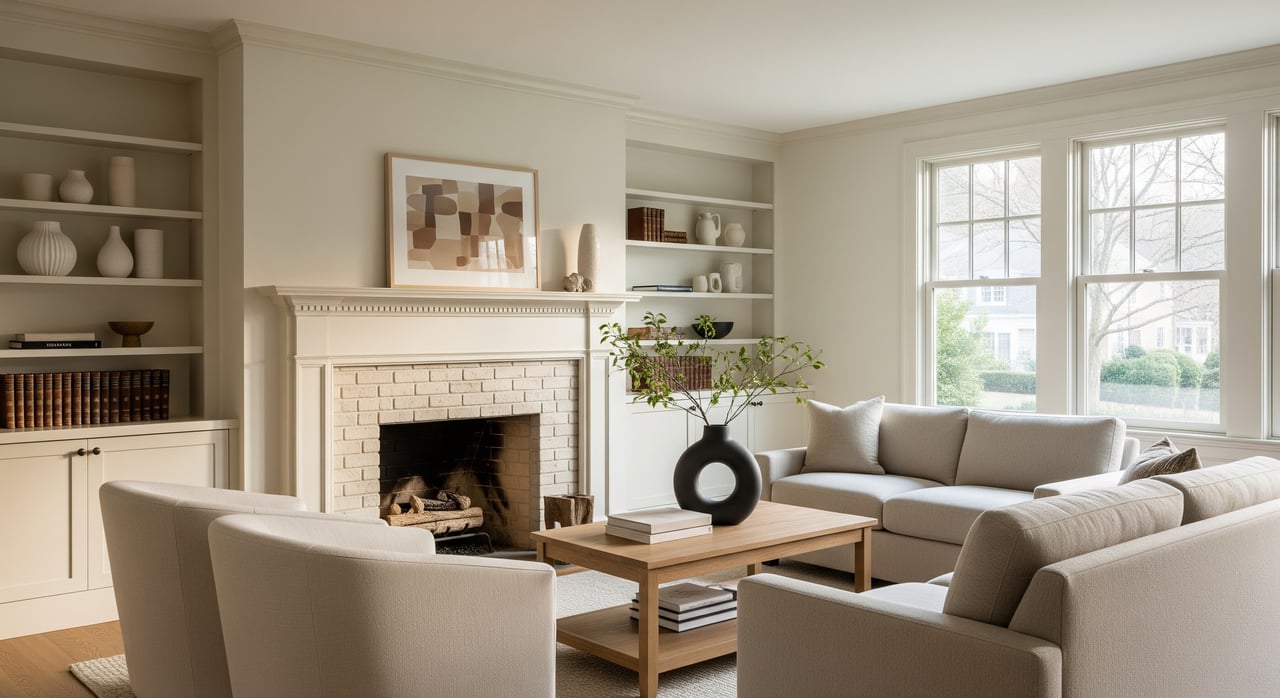
Keep furniture proportional to formal rooms. Oversized sectionals can crowd narrow living rooms and block sightlines to fireplaces and crown moldings. Aim for 30 to 36 inches of clear walking space so rooms feel open and navigable.
Symmetry flatters Colonial architecture. Use pairs of chairs, matching lamps, and balanced art in the living room and foyer. Give each room a defined purpose. If you have an extra sitting room, consider staging it as a calm home office or reading nook to highlight modern utility.
Paint and trim that photograph beautifully
Choose neutral, warm-leaning walls with crisp white trim. Warm greiges, soft warm grays, creamy off-whites, and muted historic blues or sage greens work well and let moldings pop. Paint crown, baseboards, and window trim in a consistent semi-gloss or glossy finish to bounce light in deeper rooms.
In small doses, a moody accent in a dining room or powder room can feel elegant. Keep it restrained so photos read timeless rather than busy. Fresh, neutral paint almost always supports better photography and broader buyer appeal.
Lighting that layers and lifts every room
Use LED bulbs at consistent color temperatures by area. For living spaces, 2700K to 3000K reads warm and inviting; kitchens can go slightly cooler at 3000K to 3500K if you prefer a cleaner look. Increase lumen output where rooms feel dim, while avoiding glare.
Layer light sources. Combine ceiling fixtures with table and floor lamps, and add task lighting where needed. Simple, contemporary fixtures that fit the room scale can modernize a space quickly, especially in entryways and dining rooms. Share your bulb temperatures with your photographer so white balance is consistent across the gallery.
Textiles, surfaces, and styling
Anchor seating with correctly sized rugs. Position at least the front legs of sofas and chairs on the rug so furniture reads as one group. Choose tailored window treatments like Roman shades or light drapery, and pull them back fully for photos.
Small, coordinated hardware swaps on cabinets and doors can update kitchens and baths at modest cost. Keep accessories editorial and restrained. Think three-piece vignettes: a lamp, a book stack, and a small plant. Natural textures like linen, woven baskets, and wood trays read high-end in photos.
Room-by-room focal points
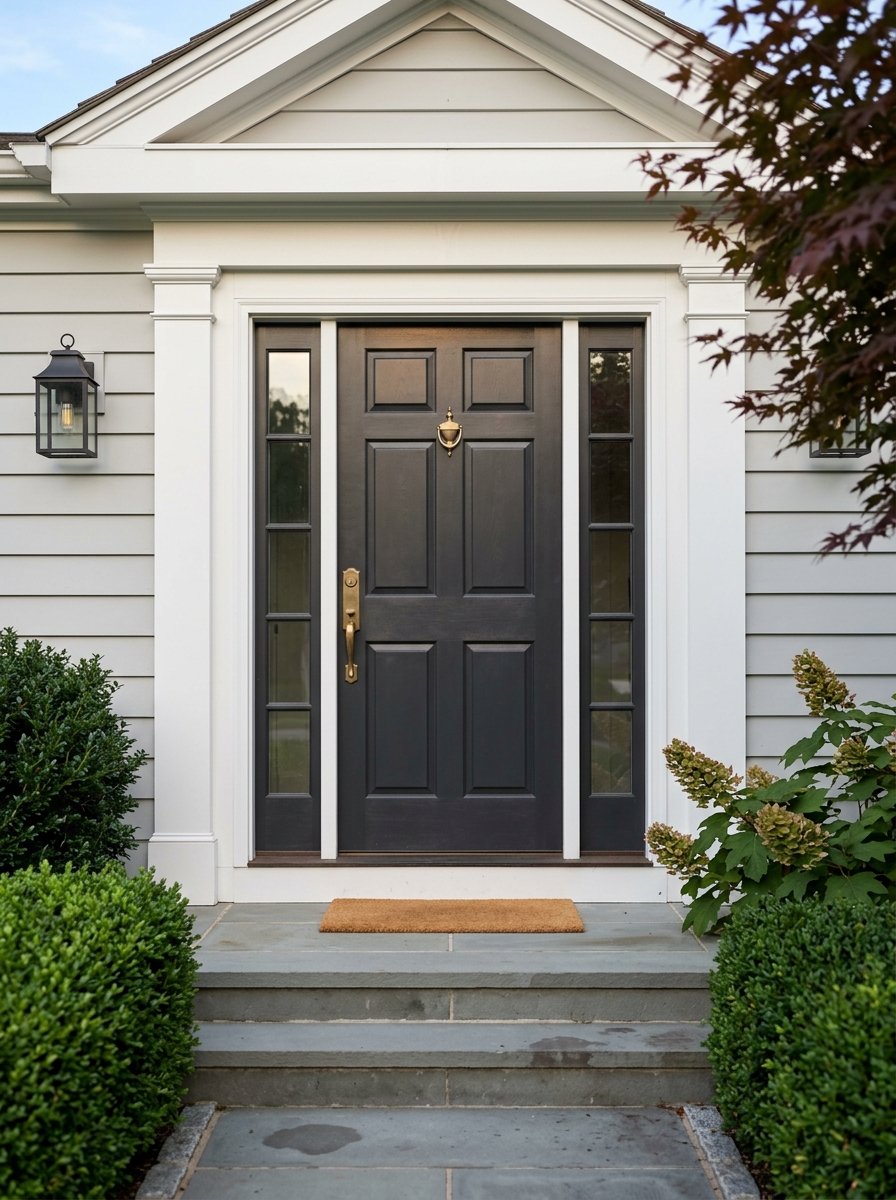
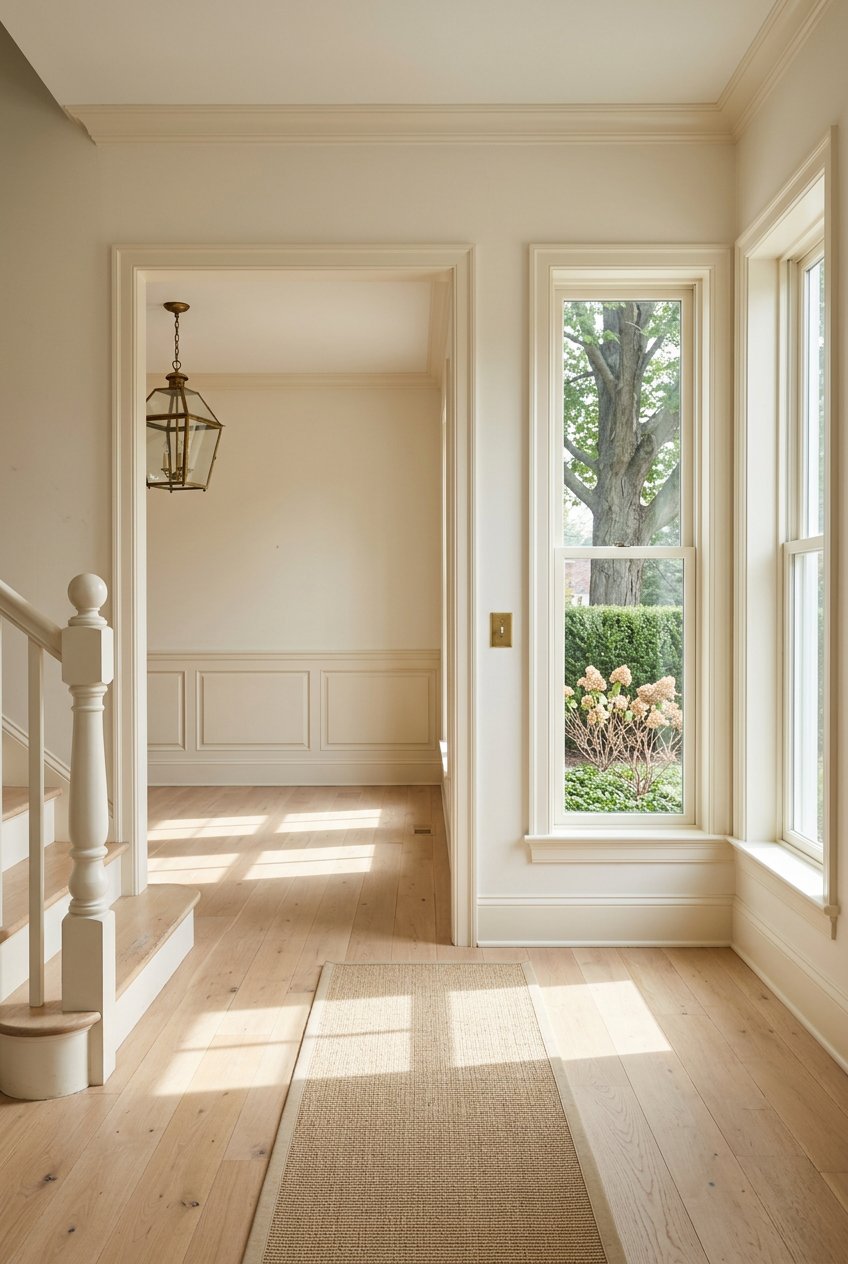
Foyer and center hall
Make the entry welcoming and obvious. A console table, mirror, and runner rug set the tone. Keep the staircase clear so it can be a hero shot.
Living room or parlor
Center the fireplace as a focal point and balance seating around it. Use symmetrical arrangements and neutral pillows or throws. Add a floor lamp for softness if overhead lighting is limited.
Formal dining room
Stage a table for 4 to 8 place settings depending on scale. Choose a simple centerpiece that does not block sightlines. If possible, put the chandelier on a dimmer for warm twilight photos.
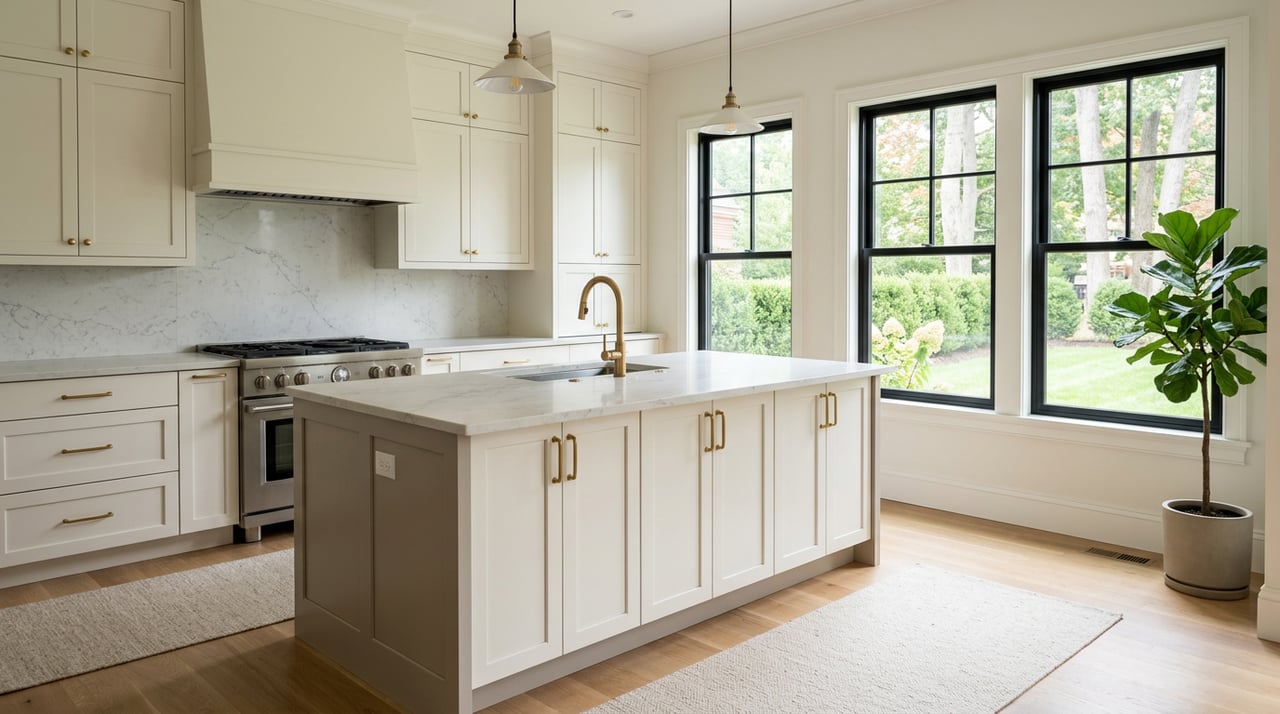
Kitchen
Clear counters and highlight work zones. A bowl of citrus, a small plant, or a cookbook is plenty for lifestyle cues. If finishes are older, clean lines and uncluttered surfaces will still photograph well.
Primary bedroom
Keep it minimalist and restful with layered bedding, two bedside lamps, and no heavy furniture blocking windows. Edit the closet to about one-third full so it reads spacious.
Mudroom and lower level
Show function first. Hooks, a bench, and labeled baskets help buyers visualize daily life. In basements, group furniture into zones so the space feels purposeful and flexible.
Exterior and curb appeal
Tidy landscaping, fresh mulch, and a clean walkway go far. Stage a front porch with two chairs and a small table, and make sure house numbers are easy to read. In winter, keep paths cleared and add subtle, warm touches inside for showings.
Photography that sells the story
Give your photographer a brief with featured rooms, your desired hero shots, and any special details like built-ins or moldings. Ask for a complete shot list, including front exterior, a twilight exterior if possible, the foyer and staircase, living and dining rooms, kitchen wide shots and details, primary suite, mudroom, lower level, backyard, street view, and architectural details.
Request bracketed or HDR captures so windows and interiors balance well. Avoid extreme wide-angle distortion that misrepresents scale. Twilight photos taken about 20 to 30 minutes after sunset can dramatically boost curb appeal.
If the home is empty, virtual staging can help, but physical staging better highlights architectural character. If you use virtual staging, disclose it in the listing and aim to include physically staged photos for key rooms.
Prep checklist for photo day
- Remove personal photos and toiletries.
- Make beds and straighten rugs; close closet doors with a lightly edited look.
- Clear kitchen counters except for one or two tasteful items; empty trash.
- Clean windows, open blinds, pull back drapes, and turn on all lights.
- Remove pet items and secure pets off-site.
- Set a comfortable temperature; turn on the fireplace if safe or use a faux flame insert for photos.
Budget, timeline, and vendors
Focus on high-return, non-renovation updates: paint, a few fixture swaps, curated staging rentals, professional photography, and simple landscaping. Costs vary by scope and vendor, so request multiple local quotes for accuracy.
Plan your timeline. Small updates and cleaning often take 1 to 2 weeks. Painting whole rooms can take 1 to 2 or more weeks including cure time. Staging delivery typically needs 48 to 72 hours lead time, and whole-house staging may require longer. Schedule photography after staging and final cleaning, ideally just before you go live.
When interviewing vendors, ask painters about prep, coats, sheen, and cure times. Ask stagers for Colonial project examples, inventory lists, insurance, and delivery and pick-up terms. Ask photographers for sample galleries, HDR use, twilight experience, drone licensing, turnaround times, and post-processing details. For any visible exterior work, confirm with the Town of Wellesley if historic or building reviews apply.
Room-by-room quick checklist
- Foyer: console, mirror, runner, balanced lighting, no shoe clutter.
- Living: symmetrical seating, neutral pillows, clear mantel, floor lamp.
- Dining: simple table setting for 4 to 8, single centerpiece, working dimmer if possible.
- Kitchen: counters clear, minimal styling, under-cabinet lights on.
- Primary: layered bedding, two lamps, minimal decor, closet about one-third full.
- Baths: clear counters, fresh towels, remove personal items, clean grout.
- Mudroom: hooks, bench, labeled storage, seasonal gear organized.
- Exterior: mow, prune, clean paths and gutters, stage porch, power-wash as needed.
You do not need to renovate to make a Wellesley Colonial irresistible. With thoughtful paint, lighting, scaled furnishings, and editorial styling, you can celebrate classic architecture and present a move-in-ready lifestyle that resonates with today’s buyers. If you want a design-led plan, concierge staging and photography, and a seamless launch, connect with Molly Campbell Palmer to get started.
FAQs
Do I need to stage my entire Wellesley Colonial?
- No. Prioritize high-impact spaces like the foyer, living room, kitchen, primary bedroom, and mudroom. Secondary rooms can be edited simply or virtually staged if needed.
Should I repaint before listing a Colonial in Wellesley?
- Neutral repainting with crisp white trim usually improves photos and broadens appeal. Avoid strong personal colors that can date the space online.
Can I do my own staging to save costs?
- Yes, you can declutter, re-arrange, and add a few accessories. For top-tier results in this market, professional staging often delivers more cohesive design and stronger photography.
Will staging push back my listing date?
- With planning, you can complete paint, cleaning, staging, and photos in about 1 to 2 weeks. Line up vendors early and follow a clear sequence for smooth execution.